Knit MCP
name: Knit MCP digest: Connect AI agents to 200+ SaaS apps with a single unified MCP server powered by Knit author: Knit homepage: https://www.getknit.dev/products/mcp-servers capabilities: prompts: true resources: false tools: true tags:
- integrations
- remote mcp servers
- automation
- ai-agents icon: https://cdn.prod.website-files.com/6347ea26001f0287c592ff91/649953ef7a9ffe1f3e492b5a_Knit%20Logo.svg createTime: 2025-07-24 featured: true
Knit is an embedded integrations platform that lets developers and AI systems connect with 200+ business apps — including HRIS, CRM, ATS, Payroll, Accounting, Ticketing, Calendar and more. With Knit MCP, AI agents like Claude, GPT, Cursor or any custom agent gain instant, secure access to these integrations using the Model Context Protocol.
What is Knit MCP?
Knit MCP is Knit’s remote MCP server offering that allows you to create and package your own mcp servers that you can plug into your AI assistants to directly execute real-world tasks like:
- Fetching employee or payslip data from HR tools
- Creating candidates in ATS systems
- Updating invoices in accounting platforms
- Pulling CRM opportunities or contact details
- And much more — with full end-user scoped permissions
It provides a real-time bridge between agents and hundreds of SaaS apps, with a focus on structured, secure, and standardized access to business-critical data.
Supported Apps
You can find the entire list of supported Apps here - https://www.getknit.dev/mcp-servers
How to Use Knit MCP
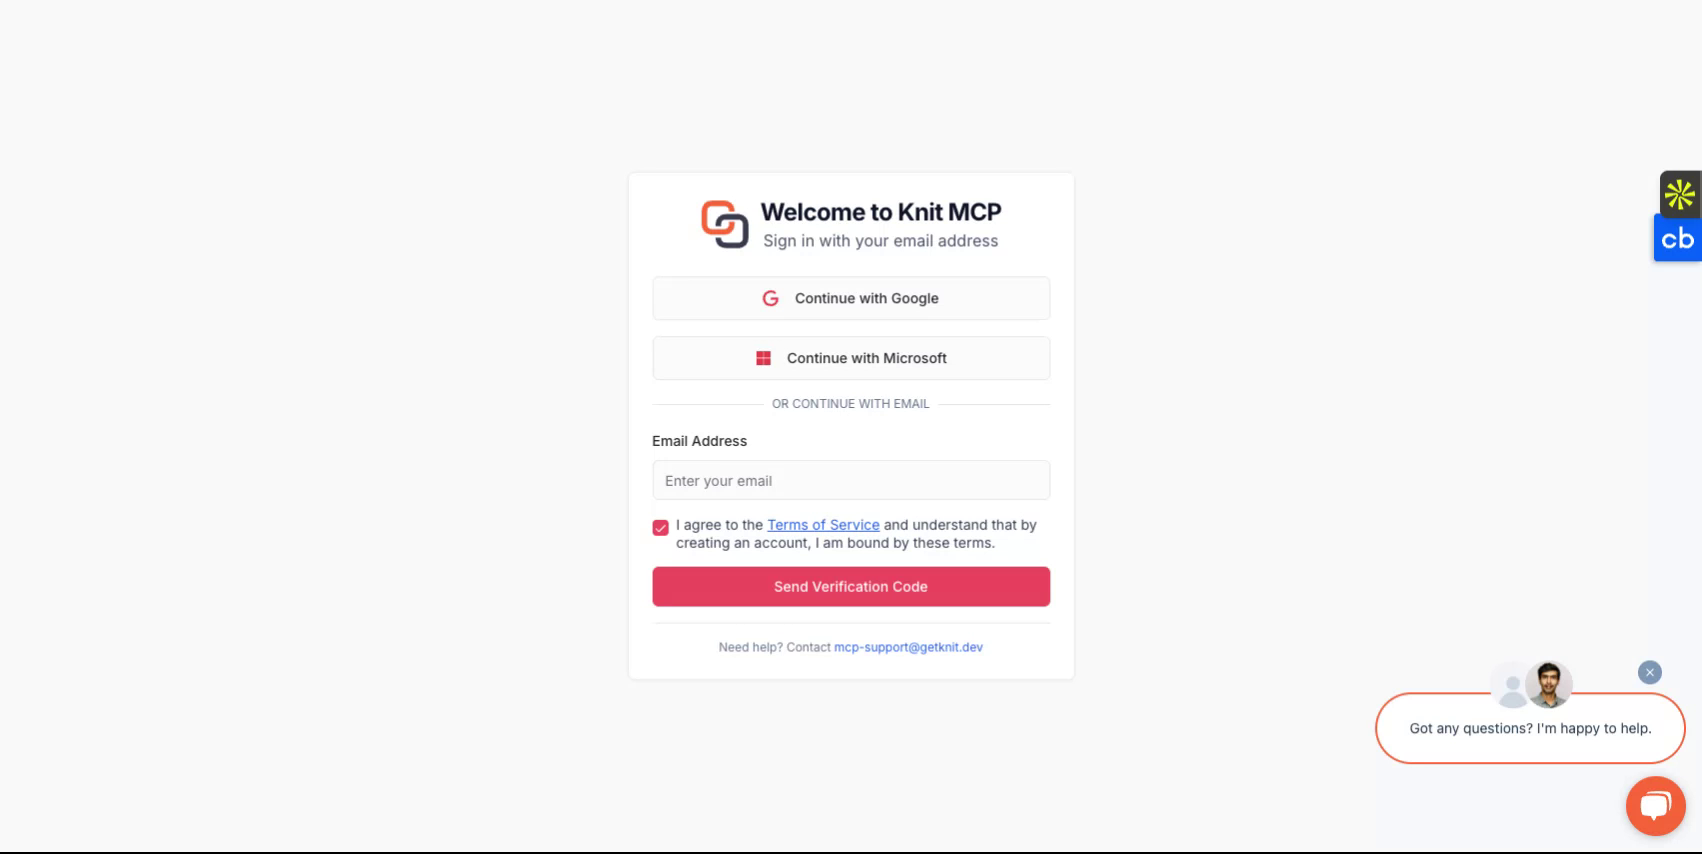
🔐 Step 1: Sign In to MCP Hub Visit the MCP Hub at https://mcphub.getknit.dev, and log in using Google, Microsoft, or your email.
⚙️ Step 2: Create a New MCP Server Click Create new MCP server.
Choose which applications/tools to include (e.g., BambooHR, QuickBooks).
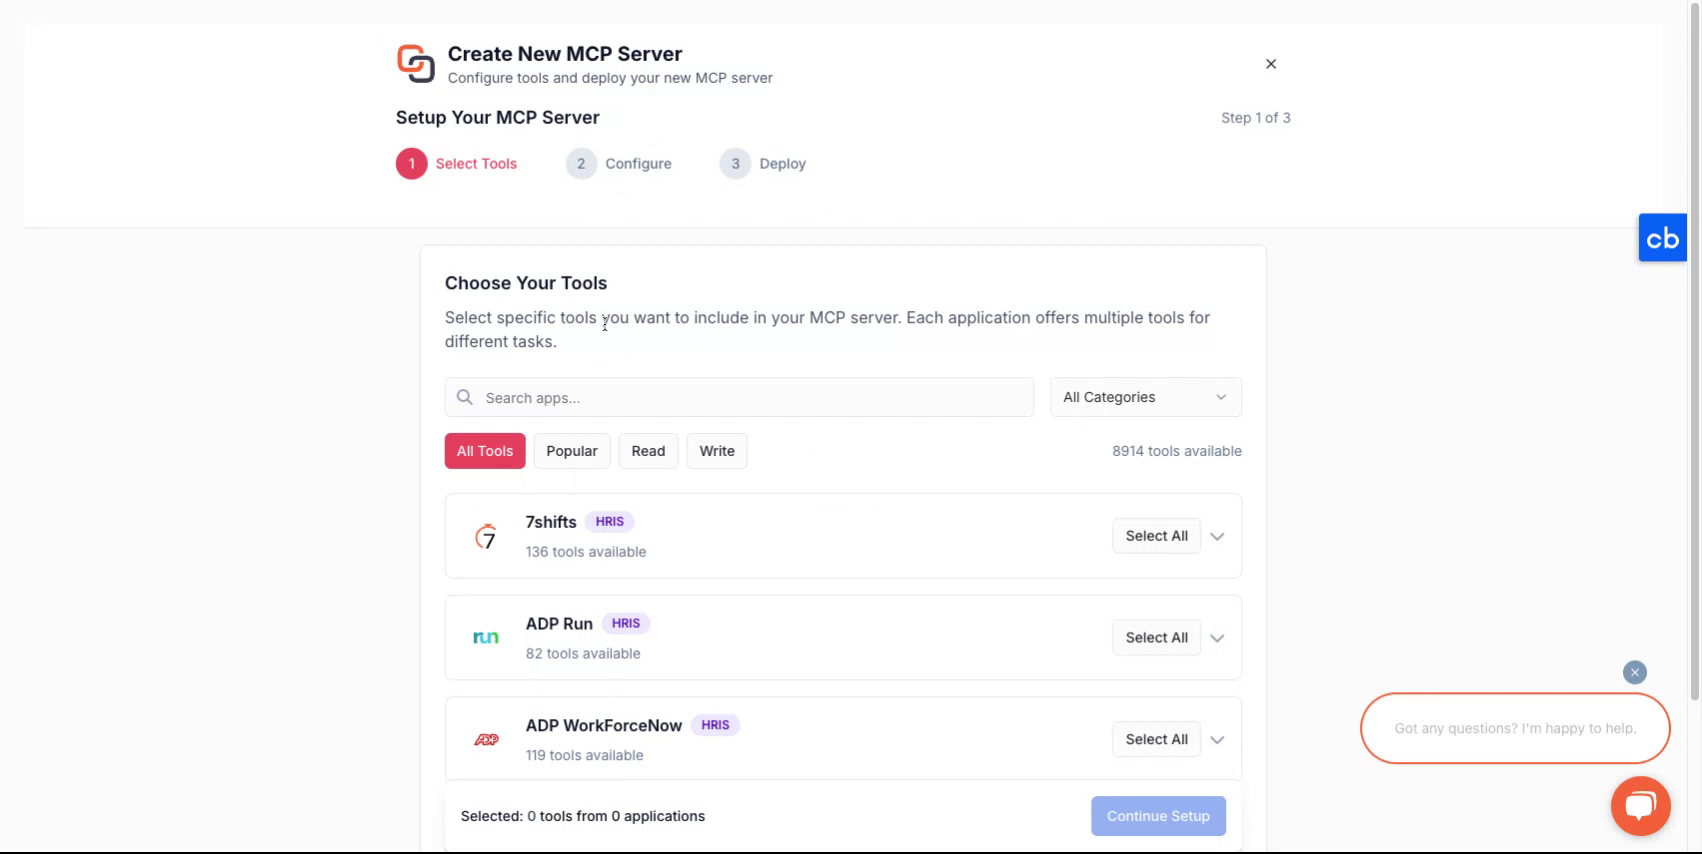
Click Next.
✏️ Step 3: Configure Your Server Fill in the server details: For example
Name: My Company ATS Server Description: Tools for recruiting workflows

Then click Deploy to provision your server.
🎮 Step 4: Choose Your AI Client Select the client you'll be using with the server. Options include:
Claude
Cursor
Windsurf
Custom client
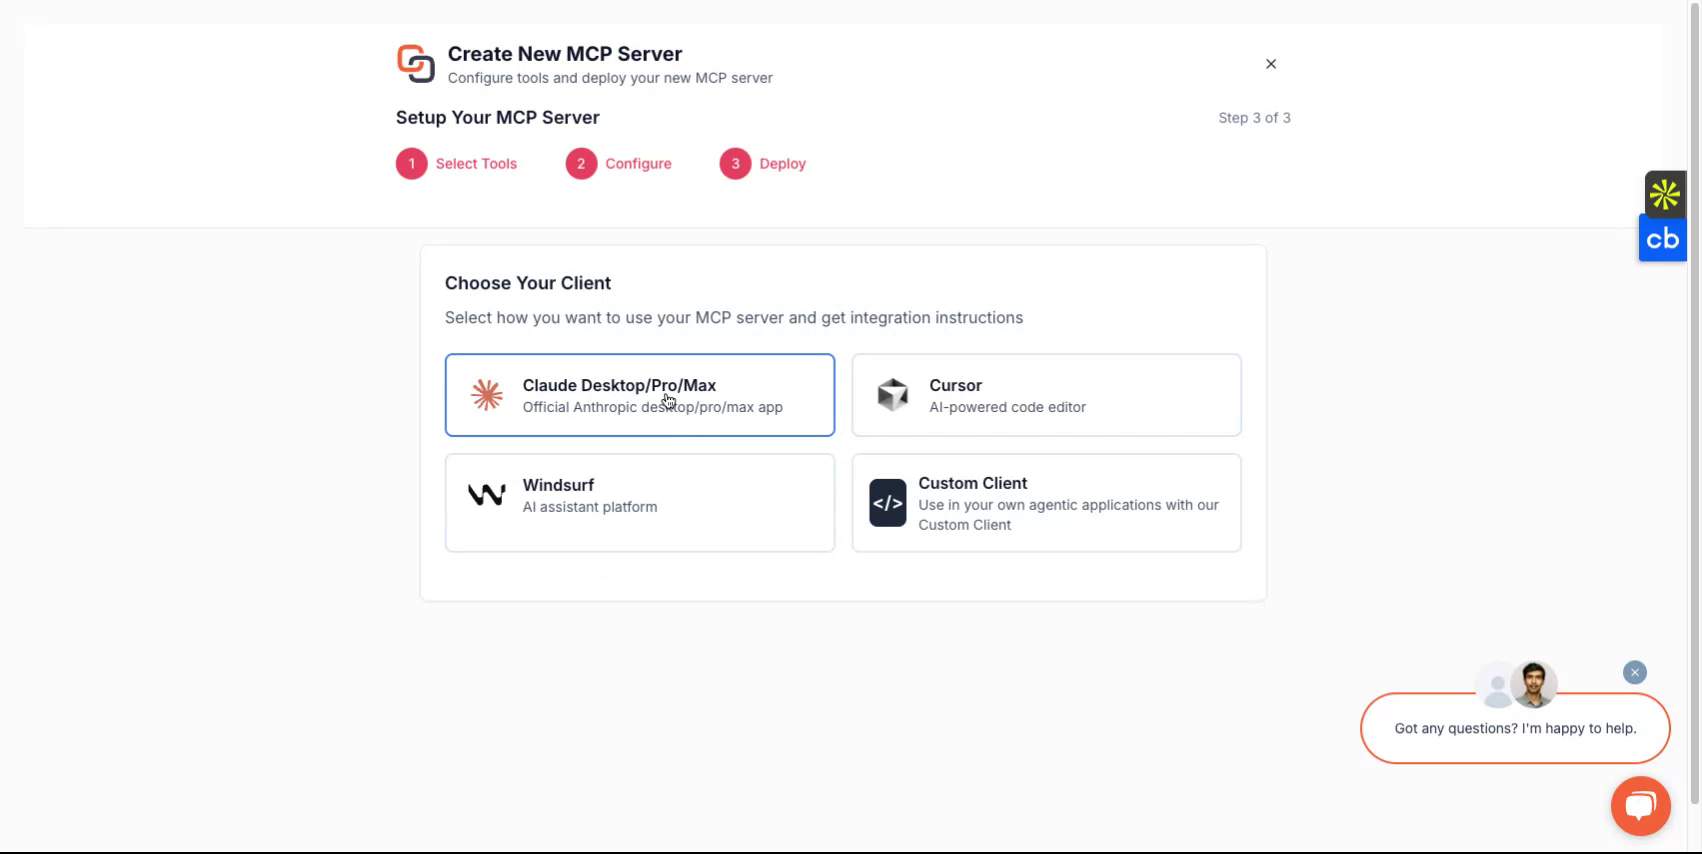
This choice tailors instructions accordingly.
🚀 Step 5: Grab Endpoint & Token After deployment, you’ll get:
MCP endpoint URL, e.g.: https://mcp.getknit.dev/
Server token for authentication.
Use the Authorization or X-Knit-Token header when connecting your client.
Step 6: Connect Your AI Agent Using JSON config (e.g., for OpenAI clients)
{ "mcpServers": { "Knit": { "url": "https://mcp.getknit.dev/
Or run via CLI (example for Claude Remote)
mcp-remote
--url https://mcp.getknit.dev/
Once connected, your AI will see defined tools and can start invoking them (e.g., getEmployee, createInvoice).
🤝 Need Help? If you hit any roadblocks, reach out via email at mcp-support@getknit.dev We’re here to get you up and running smoothly.